You know that old sweater you're yawning over or how about those also pants that are looking rather dull??? are you thinking of throwing them out well hold your horses and check out link below to resuscitate your dead wardrobe back to life back to reality!
Click on the link below for my latest Mirror Mirror segment, we'll repurpose and spruce up those almost Salvation Army worthy pieces.
Leather it up!
What you're going to bring to the Leather DIY party:
- An old cardigan or t-shirt
- Faux leather fabric for the cheap route, real leather if you bringing your big guns. If you get an eighth of a yard on sale its like a buck and you only use a wee bit...so cheap.
- Scissors
- Thick Needle (i love working with thick needles because the eye of it is so easy to thread)
- Upholstery Thread- you can either match thread to the fabric or use some funky cool colored thread to add interesting detail.
 |
| garment in need of love |
 |
| supplies: faux leather, thread, large needle and scissors |
 |
| you don't have to stick to threads that match the leather, branch out with color to add funk and interesting detail |
How to:
- Cut the appropriate size and shape of leather depending on what you are going to leather up. ie elbow patches, shoulder patches, pocket squares, ect.
- Thread your needle and tie a knot in the end.
- Start sewing your fabric onto your old clothing piece. Start on the inside of the clothing item. If you are covering a pocket work in a U shape.
- After you're finished sewing, tie off the thread on the inside of the garment.
 |
| stitching doesn't have to perfect its like a monet, up close its a mess but from a distance its beautiful |
 |
| finished look is too cute |
Do the Polka!
What you're going to bring to the Polka dot DIY party:
- Old pair of pants in any color, shape or size. (or another article of clothing)
- Fabric "Paint" Pens
- Ruler
 |
| supplies: old pants, ruler and a fabric paint pen |
 |
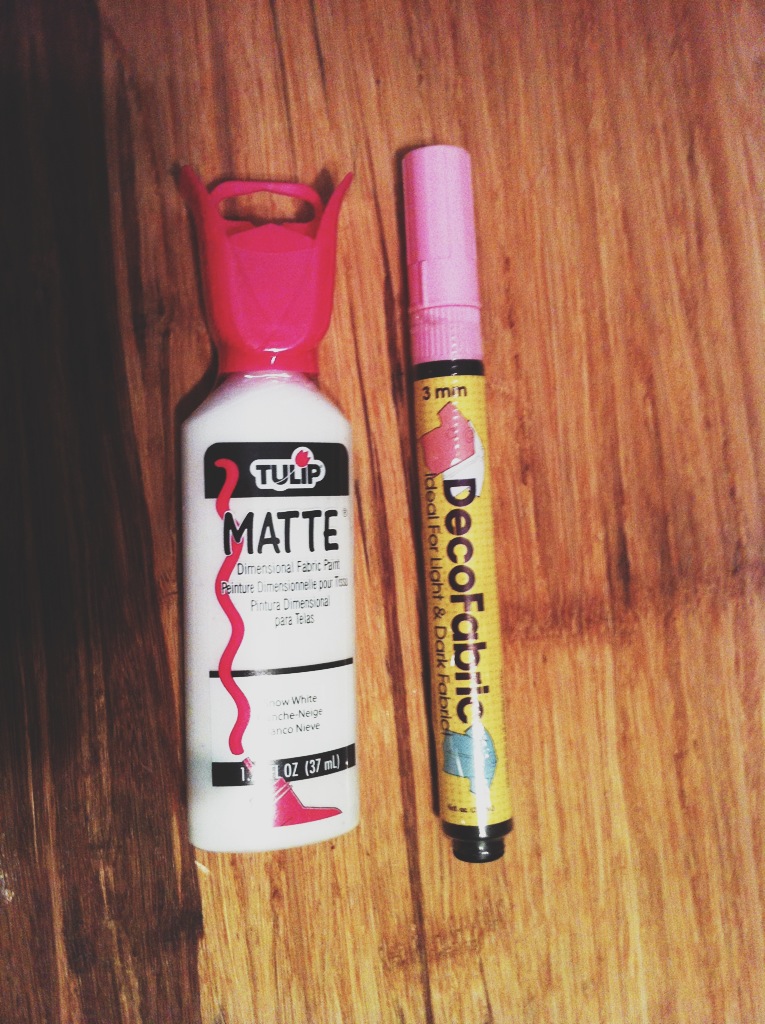
| this is what the pens and paint look like...you're welcome. |
How to:
- Lay your pants or clothing item on a flat surface and smooth out the wrinkles.
- Lay your ruler across the garment where you'd like your dots to be.
- Make dots an inch apart all the way across, this is going to be your starter line that you will use to make the dots consistent throughout the garment.
- Move the yard stick down about an inch and make dots and inch apart again, BUT this time make sure the new dots are IN BETWEEN the dot you just made. Its super duper simple. You got this!
- Finish the front and let it dry and then do the same steps to the back side.
 |
| finished look i've seen everywhere...the gap, khols, nordstrom oh yeah |
Now aren't you glad you did give the ole heave ho to those dulled down pieces? I mean you wouldn't have gotten the chance to work that leather & polka dance those pants off!
Happy DIYing.


No comments:
Post a Comment